How to use a power pipe cutter?
How to use a power pipe cutter? |
||||
 |
Step 1 – Turn off waterIf working on an existing pipe structure, make sure the water is turned off before you begin. |
|||
 |
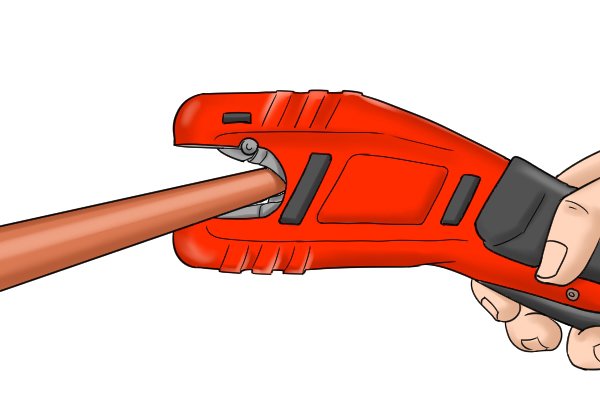
Step 2 – Turn control switch to ‘open’Turn the tools control switch to ‘open’, then pull and release the trigger button and the jaws will open for the pipe to be inserted. |
|||
 |
Step 3 – Line up the bladeOnce the pipe has been inserted, line up the wheel to where you want the pipe to be cut. The tool has a clear panel on the top of the jaws to allow you to see and line up the wheel. |
|||
 |
Step 4 – Turn control switch to ‘cutting’Turn the control switch to ‘cutting’. |
|||
 |
Step 5 – Hold trigger button downHold the tool and pipe firmly to prevent any unwanted movement and hold the trigger button down to cut the pipe. |
|||
 |
Step 6 – Open the cutterOnce the cut is complete, release the trigger and turn the control switch to ‘open’ to remove the pipe. |
|||
 |
||||
 |
Step 7 – Turn control switch to ‘lock’Turn the control switch to ‘lock’ once the tool is no longer in use. |
|||
 |
Step 8 – DeburrUse a deburring tool to smooth the edges of the pipe, if needed. |
|||