How to sharpen a flat cabinet scraper? |
||||
|
|
||||
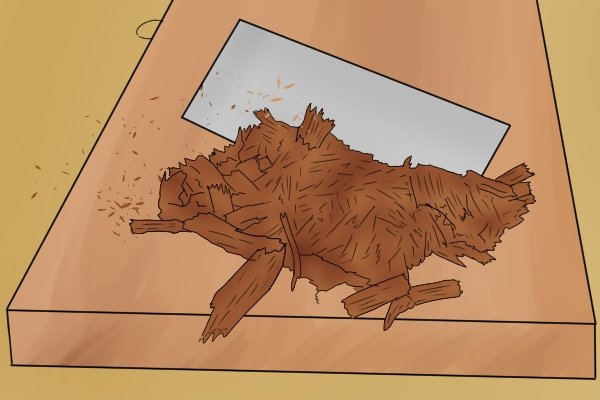 |
When a flat cabinet scraper becomes harder to run along a surface and starts to produce sawdust instead of shavings, you know it has become dull and needs sharpening. | |||
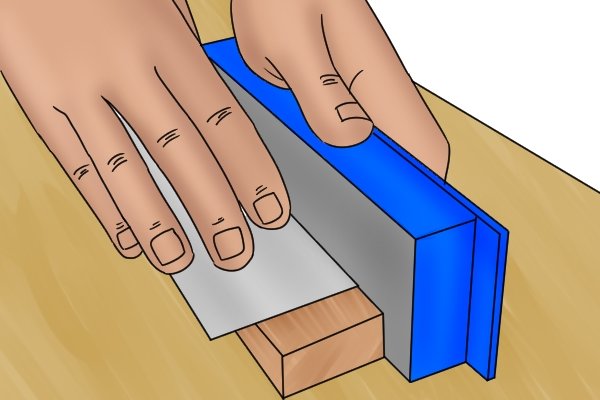 |
Each time a scraper is sharpened, a small amount of material is removed to produce a sharp edge.
A flat cabinet scraper can be repeatedly sharpened until it can no longer be held comfortably. |
|||
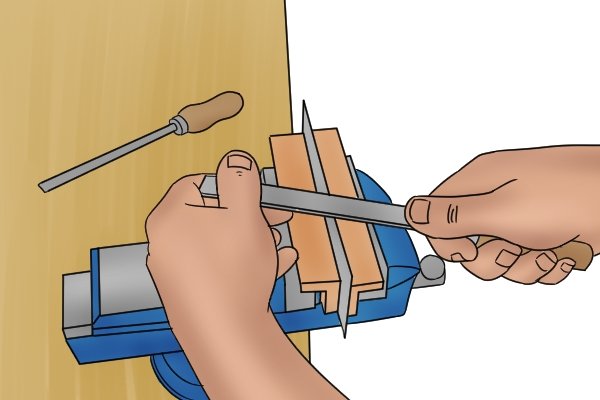 |
Flat cabinet scrapers are produced from very strong steels. However, they are designed so that they can be sharpened no matter what material they are produced from.
A diamond stone can remove material from any type of steel and a burnishing tool is stronger than the steel used for the scrapers, so it can turn and smooth the scraper’s edge. |
|||
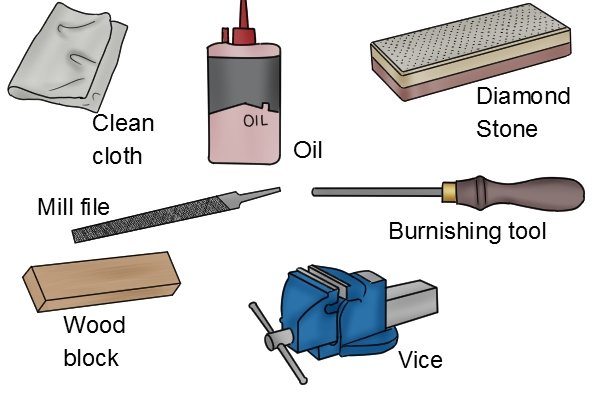 |
Tools you will need when sharpening a flat cabinet scraper are a mill file, a burnishing tool, a vice, a diamond stone, oil, clean cloth and a woodblock. To find out more about some of these tools visit the Glossary of cabinet scraper terms page. | |||
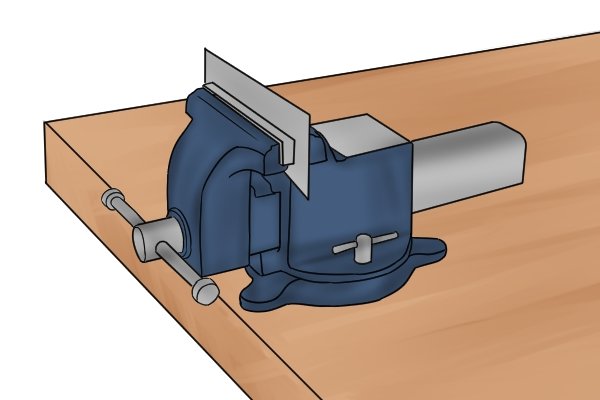 |
Step 1 – Clamp scraperClamp the cabinet scraper in a vice with one of the the blade sides up. |
|||
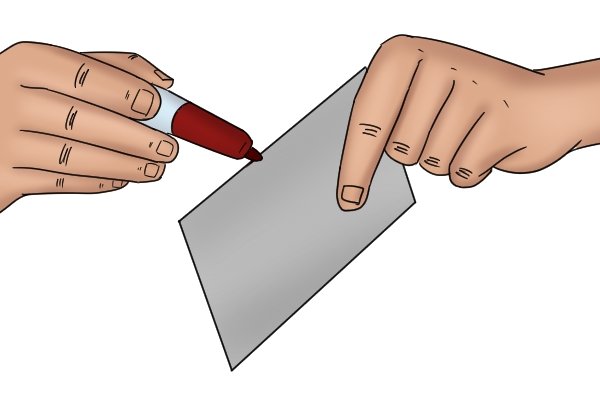 |
Use a marker pen to mark along the edge of the scraper. When you file the edge, the disappearance of the line you have marked will indicate that you are ready for the next step. | |||
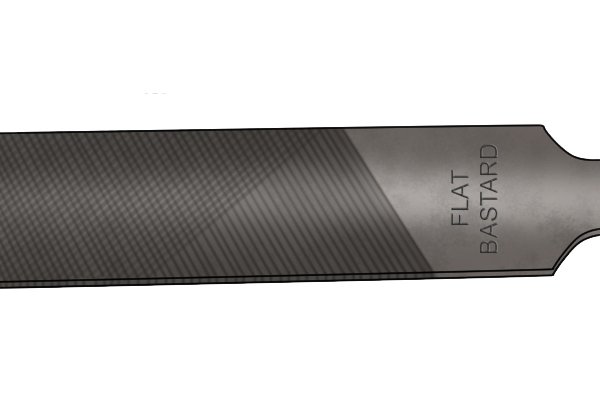 |
Mill files are available with different grades which range from rough to smooth. For sharpening flat cabinet scrapers, use a mill file with a bastard cut. This will help remove unwanted materials and smooth the blade. | |||
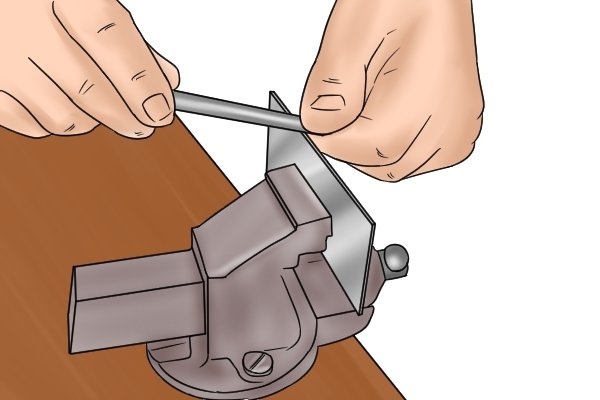 |
Step 2 – File scraperHold the file at both ends, flat against the blade, whilst it is turned at an angle on the horizontal plane. Run the file straight along the edge of the blade until it is smooth. |
|||
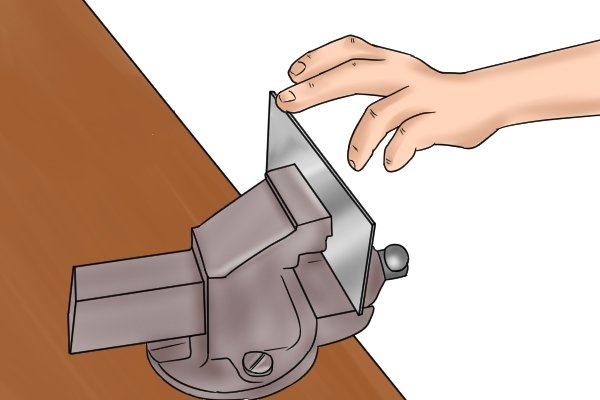 |
Gently run your finger along the edge of the scraper to test the smoothness of the blade. | |||
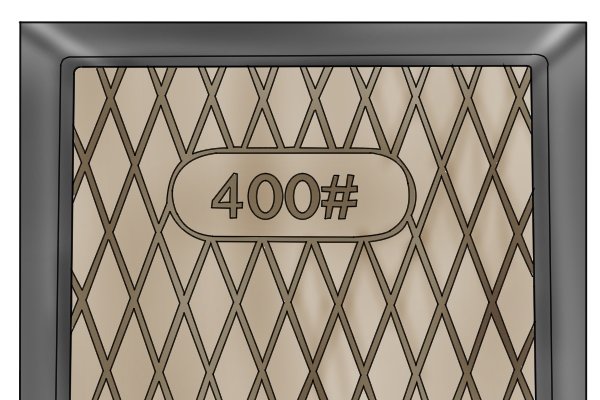 |
Step 3 – Set up diamond stone and wood blockUse the coarse side of the diamond stone – this will be the lowest grit number shown on the face of the stone. |
|||
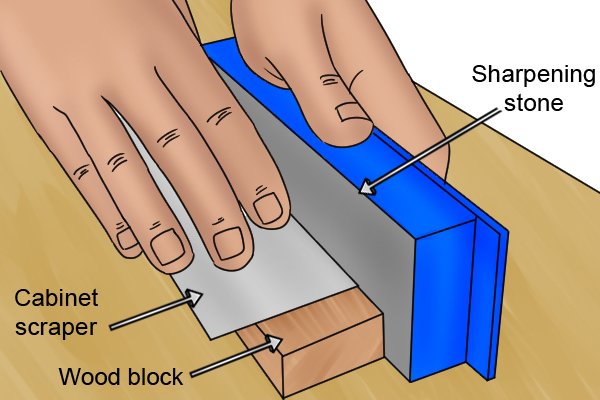 |
Lie the wood block flat on the worktop, then position the sharpening stone’s face against the side of the wood block.
Place the edge of the scraper against the face of the sharpening stone so the body of the scraper is horizontal. |
|||
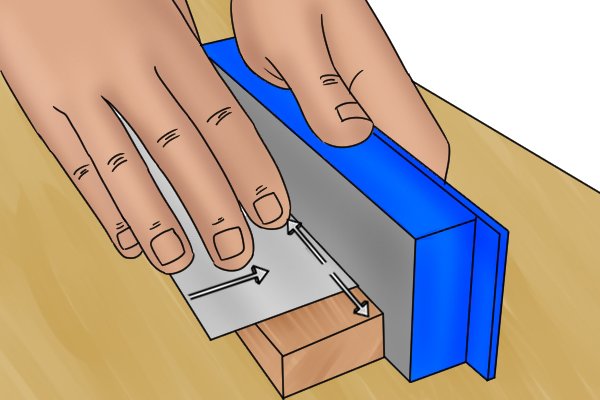 |
Step 4 – Smooth edgesPush the scraper firmly against the sharpening stone while moving it in a forwards and backwards motion. |
|||
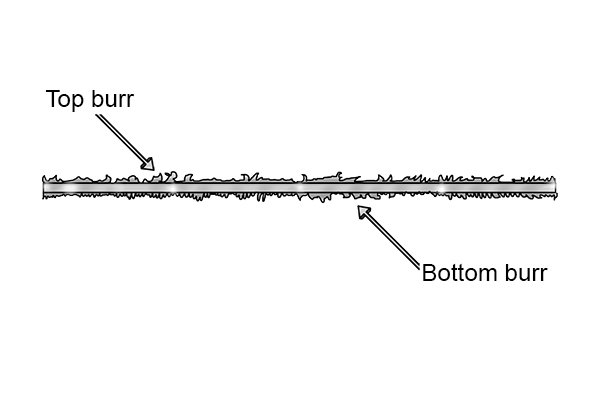 |
Running the edge of the scraper against the stone will flatten it and create a burr (rough edge) on either side of the edge. | |||
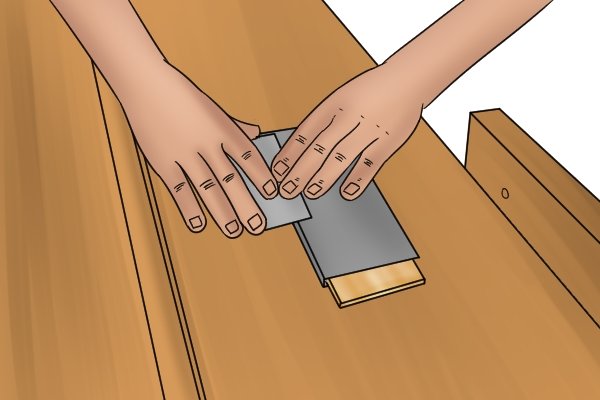 |
Step 5 – Remove burr (rough edge)Place the diamond stone flat on the worktop and lie the scraper flat on the the stone. Run the side of the scraper forwards and backwards a number of times to remove the burr (rough edge) that has been created by the diamond stone, then repeat on the other side. |
|||
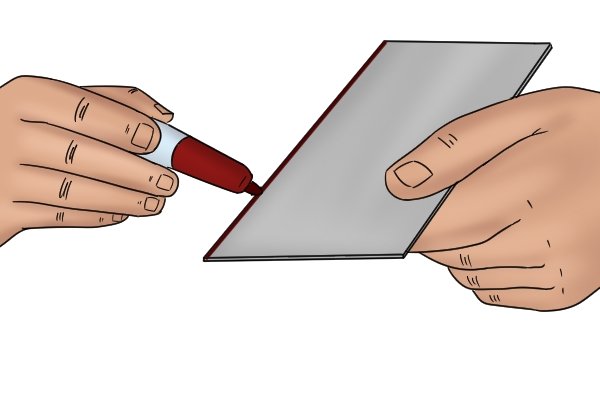 |
Again, it might help if you mark the sides of the scraper with a marker pen to help you know when you are done. | |||
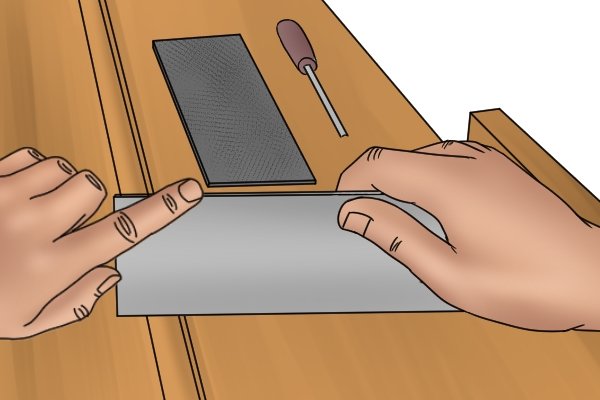 |
Rub the edge of the scraper against the diamond stone until it is smooth and shiny. Check the edge of the scraper with the end of your finger. | |||
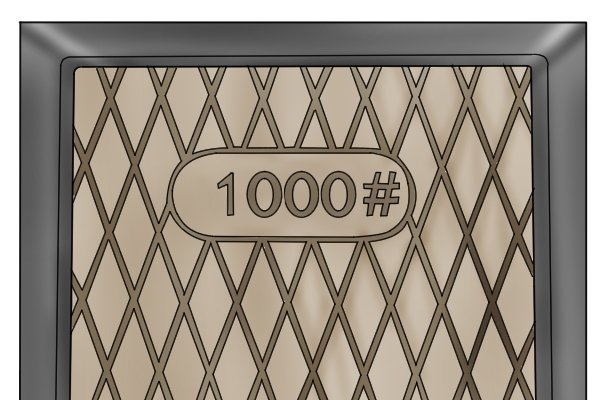 |
Step 6 – Fine side of the diamond stoneTurn the diamond stone over to its opposite side. This side of the stone will show a higher grit number, which means it is finer. Use the cabinet scraper on this side of the diamond stone to hone (sharpen) the edge. |
|||
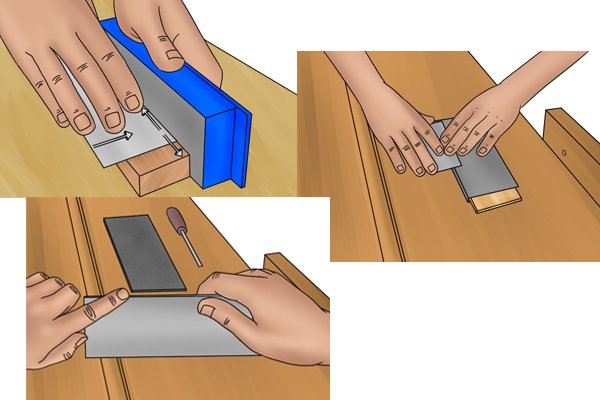 |
Step 7 – Remove burr (fine side)Repeat steps 3-5 using the fine side of the diamond stone. This will remove any last remaining material that is not needed from the edge of the scraper. The fine side of the diamond stone provides a smoother finish. |
|||
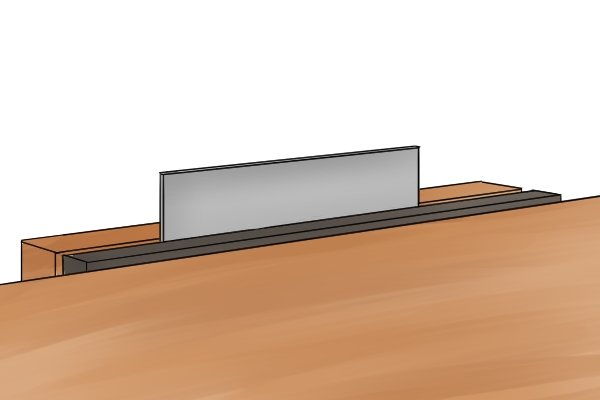 |
Step 8 – Clamp scraperNow it is time to burnish (smooth and turn) the edge of the scraper. First, place the cabinet scraper into the vice, with the edge to be burnished about an inch above the worktop. This will give you a comfortable hand position while you are burnishing. |
|||
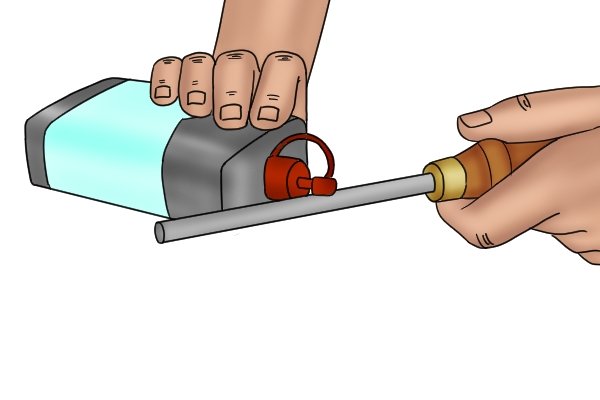 |
Step 9 – Apply oilApply a small amount of oil to the shaft of the burnishing tool. This will lubricate the tool and help it slide across the edge more comfortably. |
|||
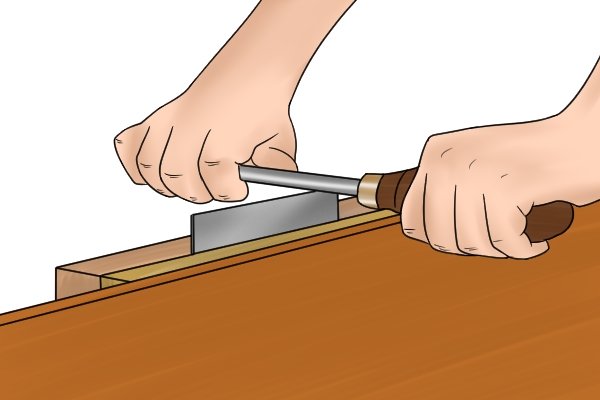 |
Step 10 – Burnish scraperHold the handle of the burnishing tool in your dominant hand and place your non-dominant hand on the other end. Keep the burnishing tool square to the edge of the scraper. |
|||
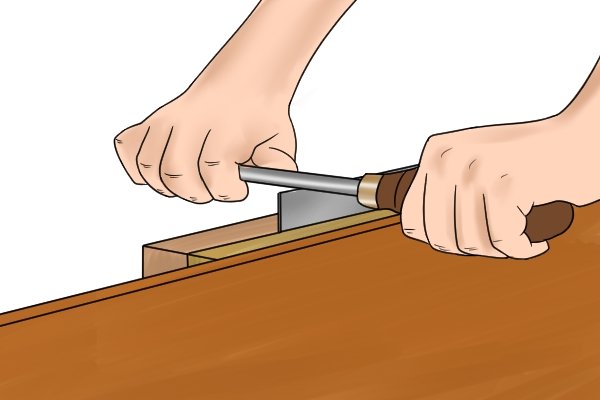 |
Run the tool along the edge of the scraper while pushing down hard. The number of times this needs to be done really depends on how hard you push down on the edge. | |||
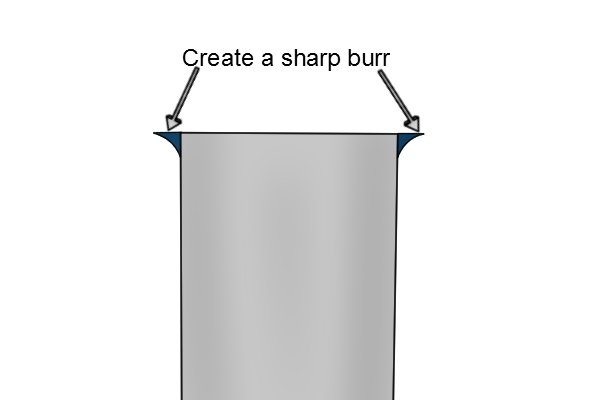 |
You are aiming to create a sharp burr on both sides of the blade. | |||
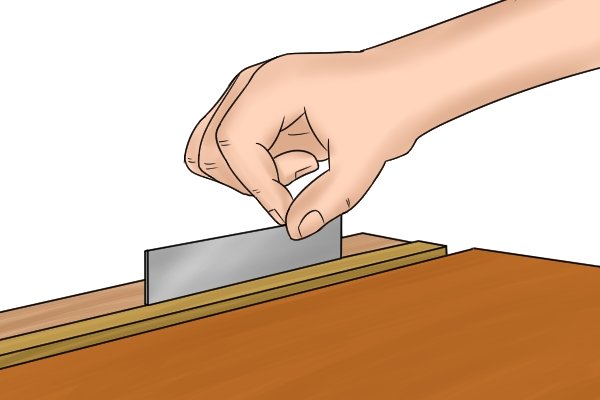 |
Feel the edges with your fingers to see if a sharp burr has been created. When you have created the right type of burr, you can feel it catching on your fingers if you run them gently across is. | |||
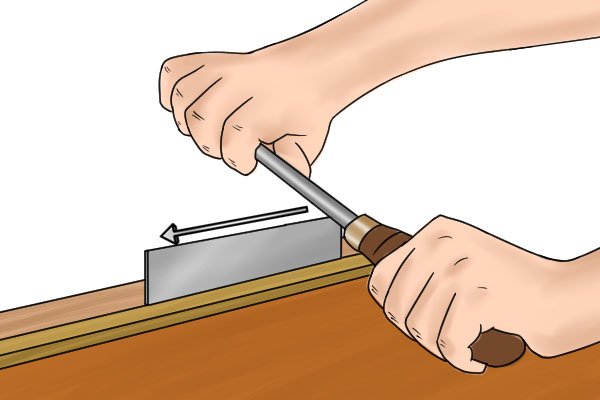 |
Step 11 – Burnish edge at an angleFor final strokes, hold the burnishing tool slightly downwards at an angle of 5-10 degrees. Push the scraper along the edge of the scraper a couple of times. |
|||
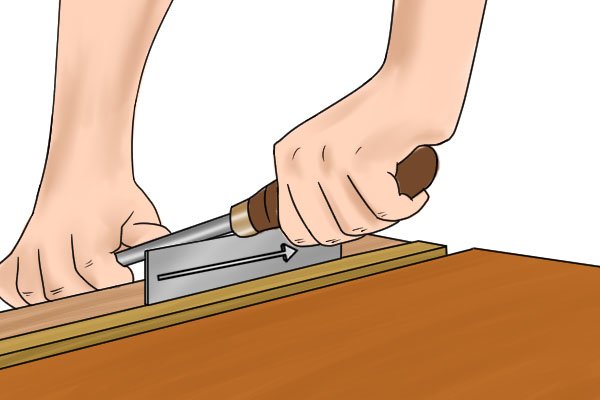 |
Place the burnishing tool on the opposite side and repeat the strokes at an angle of 5-10°, pulling the burnishing tool towards you. | |||
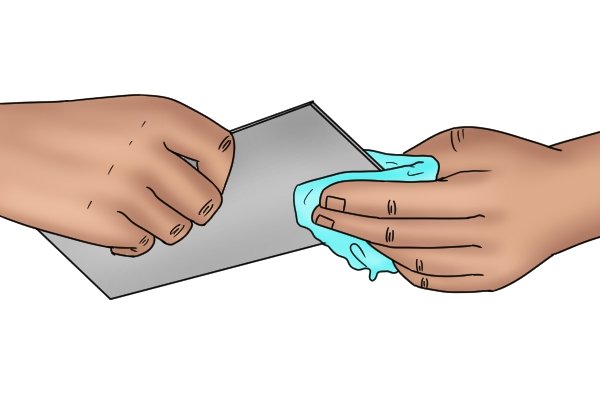 |
Step 12 – Wipe scraperRemove the scraper from the vice and wipe the edge with a clean cloth to remove any oil or leftover material. |
|||
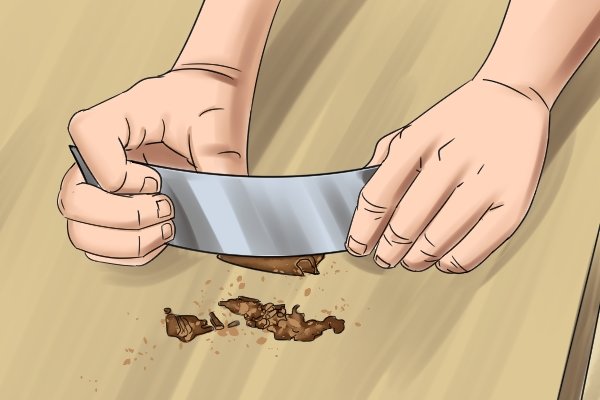 |
Step 13 – Test scraperTest the scraper on a piece of scrap wood to see if it is sharp. If the edge is sharp, it will cut into the surface of the wood and produce shavings. If it is not sharp enough, it will create sawdust and you will have to further sharpen the scraper. |
|||


