How to test capacitance with a multimeter |
||||
| Shop for Multimeters | ||||
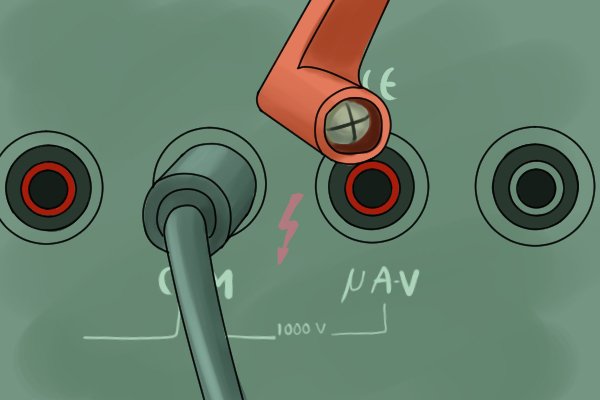 |
Step 1 – Plug in cablesTo test capacitance, insert the black cable into the common socket and the red cable into the volts socket. |
|||
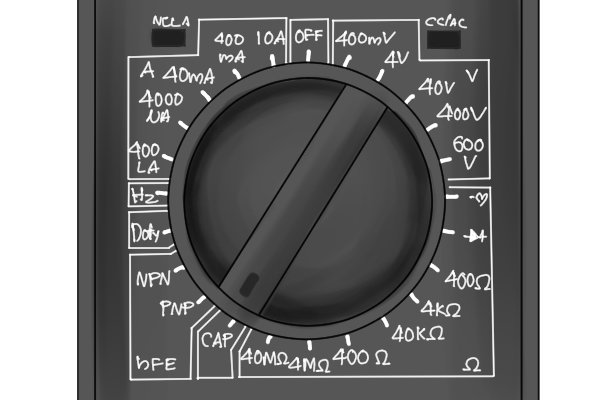 |
Step 2 – Set multimeterRotate the dial to the capacitance setting (usually the letters CAP or the capacitor symbol).
Capacitance may not be the default setting for this position and in that case the shift / mode button should be pressed until the correct units symbol appears on the display; for capacitance that is farads (F). |
|||
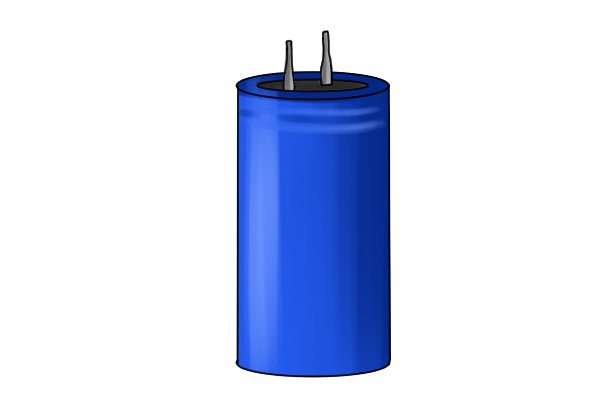 |
Step 3 – Prepare test itemTo test a capacitor, it should be out of circuit and discharged. This is done using a 10K 2W resistor (ie 10,000 ohms resistor rated at 2 watts).
Capacitors are components added to circuits to store charge. |
|||
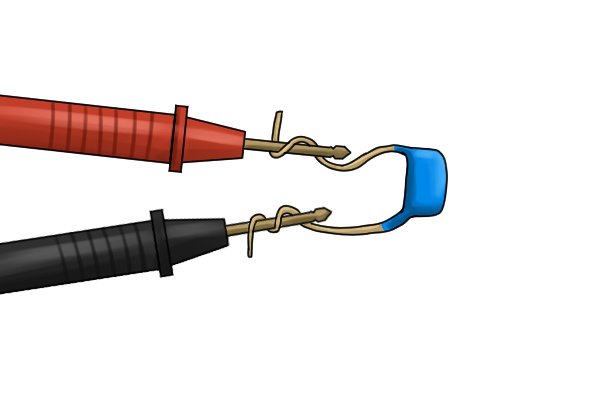  |
Step 4 – Place probesPlace the red probe on the positive wire coming from the capacitor and the black on the negative if the capacitor is polarised (Electroltic capacitor). If it is not polarised it does not matter which probe goes where. |
|||
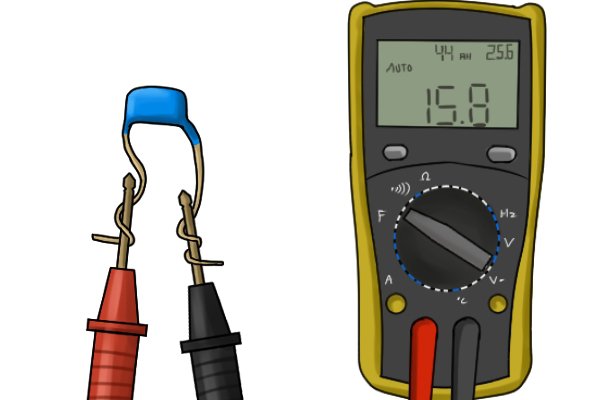  |
Step 5 – Take readingWait for the value on the displey to stabilise and double check the correct unit is displayed, then take the number as your reading. |
|||
Alternative capacitance testing |
||||
   |
Some multimeters may have a specilised socket, where capacitors can simply be slotted in for testing. |
|||


