How to test voltage with a multimeter |
||||
| Shop for Multimeters | ||||
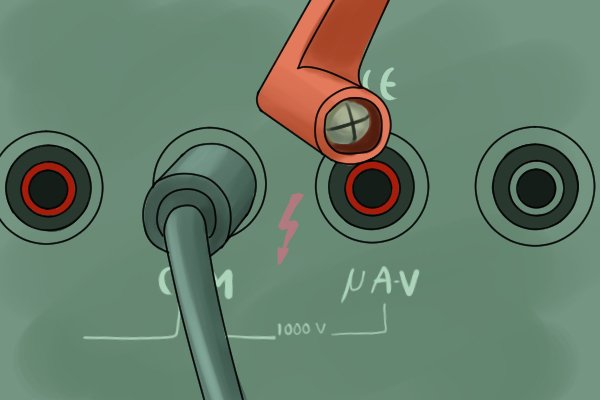 |
Step 1 – Plug in cablesFor measuring voltage, insert the black cable into the common jack and the red cable into the volts socket. |
|||
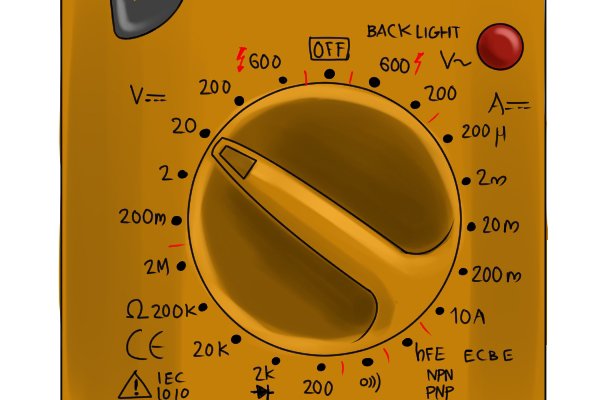 |
Step 2 – Set dialRotate the dial to the voltage setting. It must be set higher than the voltage of the item you are testing. So if you are testing a 9V battery, the dial must be pointing at the number higher than this on the multimeter (20V in this case). It must also be pointing at the AC or DC settings according to what you are testing (DC in the case of a battery). |
|||
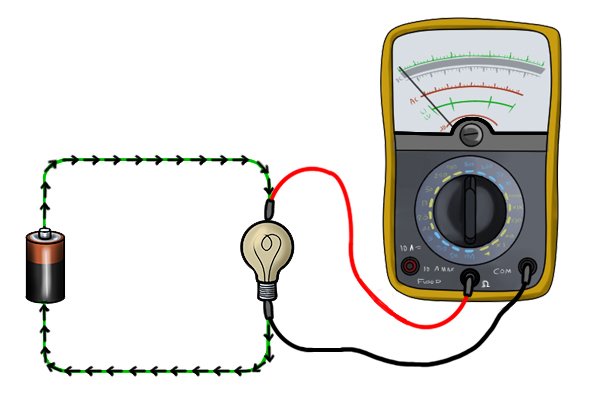 |
Step 3 – Place probesThe probes are inserted in parallel with the test circuit for voltage readings. The metal part of the probe must be in contact with a metal (conductive) part of the circuit. |
|||
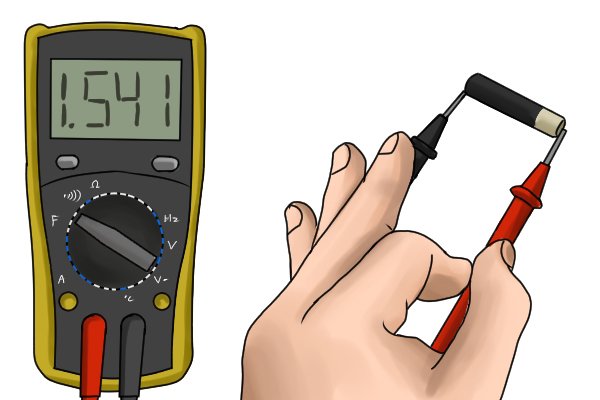 |
Step 4 – Take readingWait for the value on the display to stabilise and double check the correct unit is displayed on the screen, then take the number as your reading. |
|||
How to test polarity with a multimeter |
||||
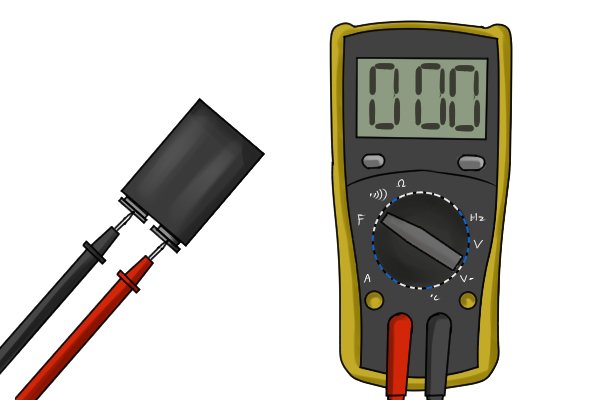 |
Step 1 – Do voltage testYou can check the polarity on DC circuits. Follow the instructions exactly for testing voltage with a multimeter to also check polarity. |
|||
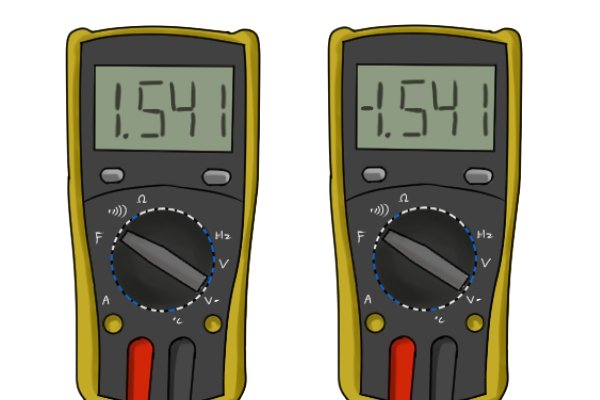
|
Step 2 – Positive or negative reading?When you take a voltage measurement, it will either be a positive or a negative reading. If positive, then the positive probe (red) is connected to the positive and if negative, then the negative probe (black) is connected to the positive. The voltage measurement will be the same in both positive and negative readings. In summary: a minus (-) reading tells you that the negative (black) probe is pointing to the positive terminal. |
|||


