How to test resistance with a multimeter |
||||
| Shop for Multimeters | ||||
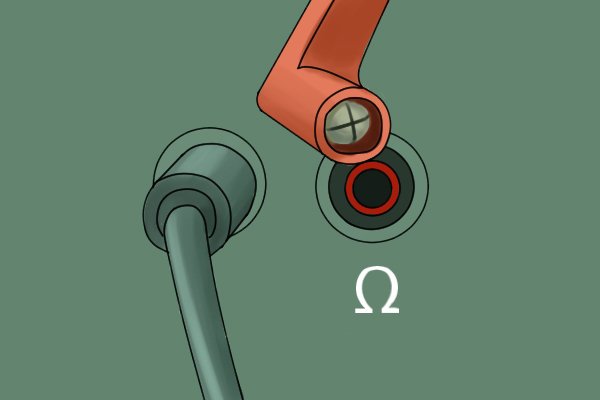 |
Step 1 – Plug in cablesFor measuring resistance, insert the black cable into the common jack and the red cable into the volts socket, which should also be labelled with an Ω. |
|||
 |
Step 2 – Set dialRotate the dial to the resistance setting, that is the omega (Ω) symbol. |
|||
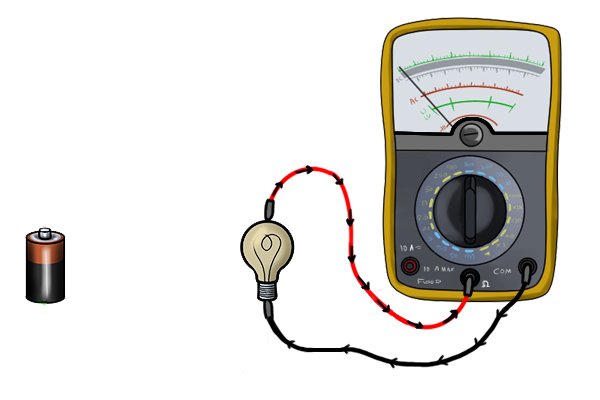 |
Step 3 – Prepare test itemIf you wish to check the resistance of a resistor, for example, it should be isolated and removed from the circuit. When testing resistance in circuit, ensure that the power is isolated. Failure to do this may give inaccurate readings or damage the multimeter.
Resistance can be checked through any two points in a circuit when the power is off, but readings will be affected by other components within that circuit. |
|||
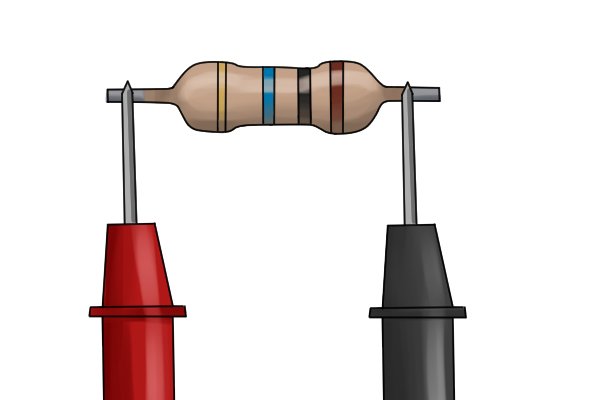 |
Step 4 – Place probesInsert the probes either side of the component you are testing for resistance readings. The metal part of the probe must be in contact with a metal (conductive) part of the circuit. |
|||
 |
||||
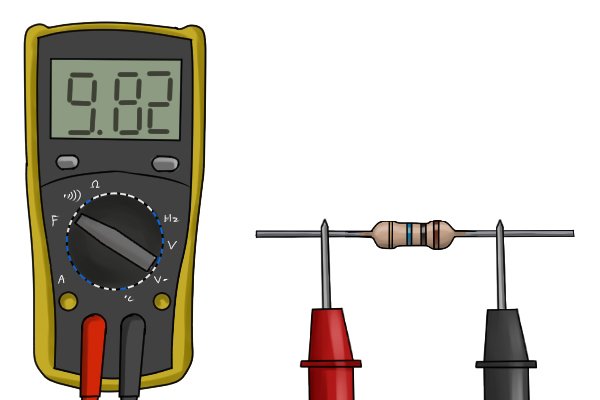 |
Step 5 – Take readingWait for the value on the display to stabilise and double check the correct unit is displayed, then take the number as your reading. |
|||


