How to test current with a multimeter |
||||
| Shop for Multimeters | ||||
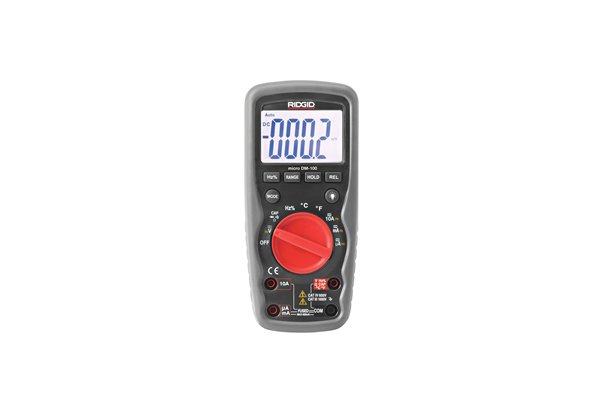 |
There are many different multimeters, which can all be used in slightly different ways. Here is a typical method for testing current. |
|||
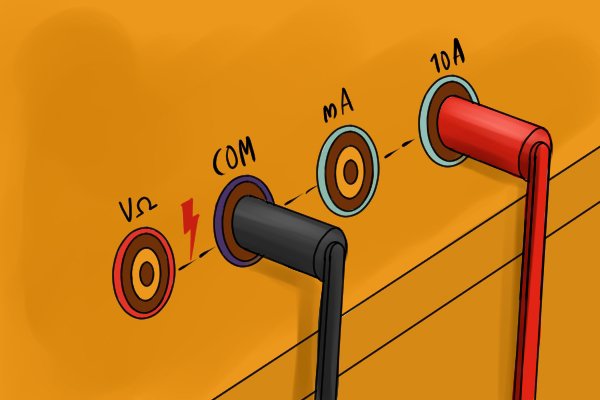 |
Step 1 – Plug in cablesFor measuring current, the black cable will be inserted into the common jack and the red cable will be plugged into one of the amp sockets. This is dependent on the unit of measurement required. If unsure, always begin on the highest unit, this will likely be A and not mA or μA.
The sockets will be appropriately labelled and sometimes colour-coded. |
|||
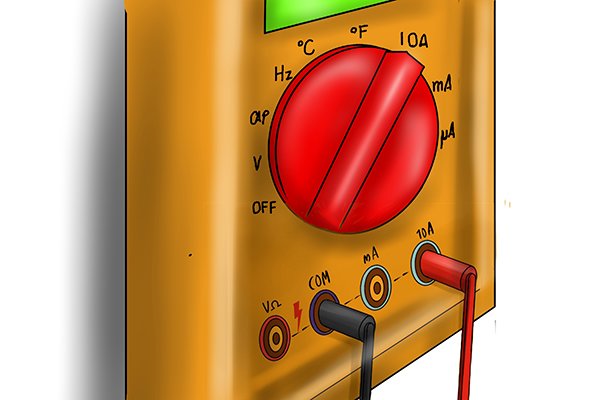 |
Step 2 – Set dialRotate the dial to the current setting. It must correspond with the chosen position of the cables and the unit (A, mA, μA). So if the red cable is plugged into the mA socket, the dial must also be set at mA. It must also be pointing at the AC or DC side of the dial, according to what you are testing. |
|||
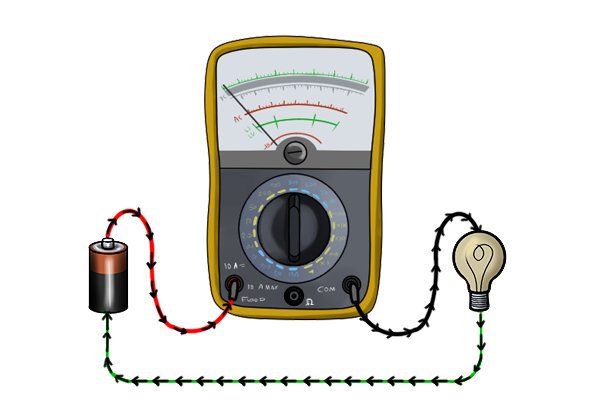 |
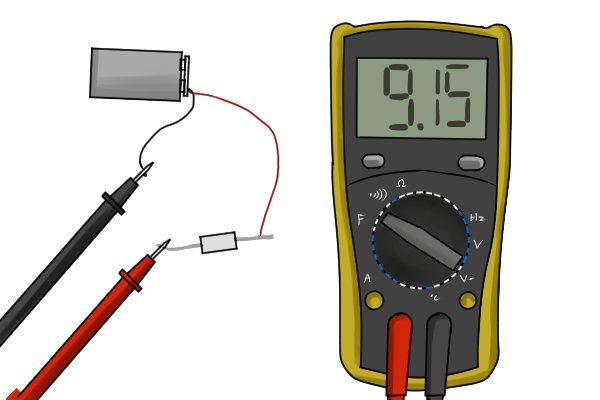
Step 3 – Place probesThe probes are inserted in series with the test circuit for current readings. The metal part of the probe must be in contact with a metal (conductive) part of the circuit.
“In series” means the circuit needs to be broken to insert the multimeter. |
|||
 |
Step 4 – Take readingWait for the value on the screen to stabilise and double check the correct unit is displayed on the screen, then take the number as your reading. |
|||


